Chiller vs. Fan Cooling for a Reef Tank: Which Should You Choose?
This post contains affiliate links. As an Amazon Associate, I earn from qualifying purchases at no extra cost to you.
If you’ve ever watched your reef tank thermometer creep past 80 degrees on a hot afternoon, you know the dread that comes with it. Corals start looking stressed, fish behave erratically, and the oxygen content of the water begins to drop. Temperature control is one of the most consequential (and most overlooked) aspects of reef keeping. Get it wrong and you can lose animals that took months to establish. Get it right and your tank runs stable year-round with almost no drama.
The two main tools for cooling a saltwater tank are aquarium chillers and evaporative cooling fans. They work on completely different principles, cost very different amounts, and suit different tank sizes and environments. In our experience running several reef setups across different climates, the choice between them is not simply about budget: it’s about your tank’s specific demands and the conditions in your home.
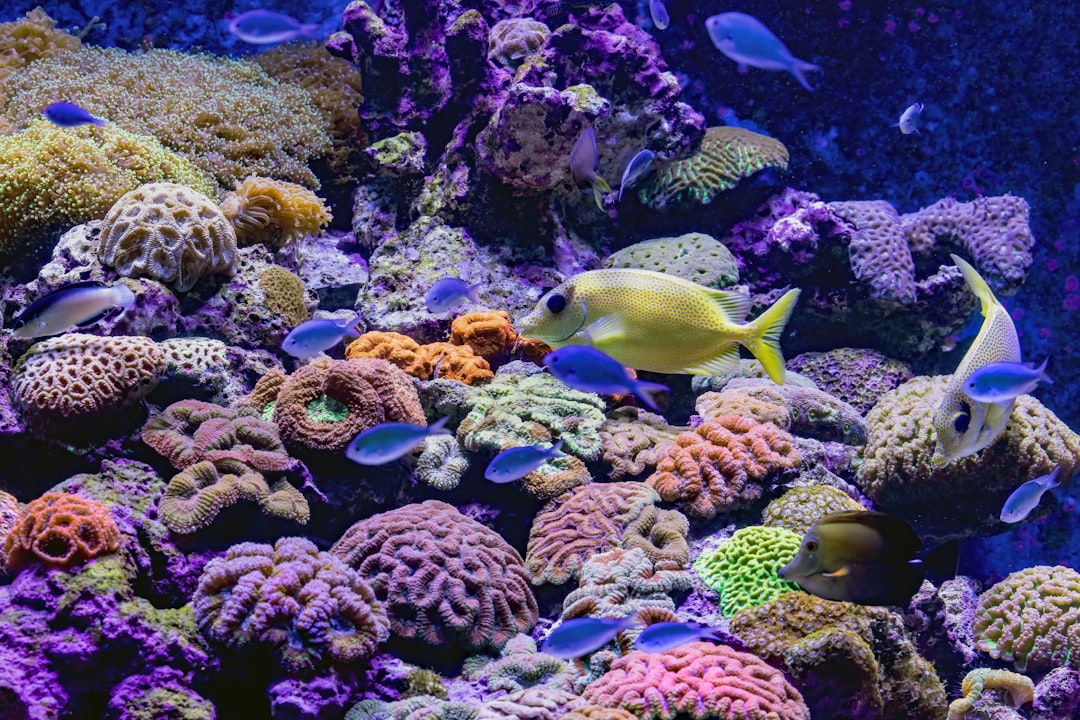
Photo by David Clode on Unsplash
Why Reef Tank Temperature Control Matters
Most reef aquarium inhabitants have evolved in tropical ocean environments where water temperature stays within a fairly narrow band, typically between 75 and 79 degrees Fahrenheit (24 to 26 Celsius) for the majority of coral reef ecosystems. This is not a soft preference. It is a physiological requirement. When temperatures rise above 82 to 84 degrees for extended periods, corals begin expelling their symbiotic zooxanthellae, the photosynthetic algae that give them color and provide the majority of their energy. This process (coral bleaching) is the same phenomenon that has devastated wild reefs globally, and it can happen in your display tank too. For more on why bleaching occurs and what triggers it at the cellular level, NOAA’s coral bleaching explainer is worth reading.
Beyond bleaching, elevated temperatures affect your tank’s chemistry in ways that compound the stress. Warmer water holds less dissolved oxygen, which stresses fish and reduces the aerobic capacity of beneficial bacteria in your biological filter. Alkalinity consumption rates increase, which means your dosing schedule can fall behind faster than you expect; see our guide to dosing calcium and alkalinity. Elevated temperatures also accelerate nuisance algae growth and can trigger bacterial blooms.
The inverse problem (tanks running too cold) is less common for most hobbyists but worth noting. Tanks in unconditioned spaces in northern climates, or tanks with aggressive evaporative cooling, can drop below 74 degrees, which slows coral metabolism and suppresses immune function. The goal is stability within the acceptable band, not just staying under a maximum.
Understanding what your tank actually needs starts with knowing what you’re keeping. SPS corals (small polyp stony) are the most sensitive, with many species thriving best between 76 and 78 degrees. LPS corals and soft corals have slightly wider tolerance ranges. Fish generally tolerate temperature swings better than corals, but they still suffer in sustained heat.
How Aquarium Chillers Work
An aquarium chiller is essentially a refrigeration unit designed specifically for water cooling. It works on the same basic principle as a household refrigerator or air conditioner: a refrigerant is compressed, releases heat at a condenser coil, then expands to absorb heat at an evaporator coil. Water from your tank or sump is pumped through the evaporator, where heat is extracted, and the cooled water is returned to the system.
Most aquarium chillers are inline units that connect to your existing plumbing via inlet and outlet fittings and are placed in-line with a dedicated pump or tapped off your return line. Some smaller models are drop-in units that sit inside the sump directly. Inline units are more common in serious reef setups because they allow precise temperature control and can be positioned outside the sump cabinet.
The key specs to understand when evaluating chillers are cooling capacity (measured in horsepower or BTUs), flow rate requirements, and energy consumption. A 1/10 HP chiller is typically rated for tanks up to about 50 gallons. A 1/3 HP unit handles tanks up to around 80 to 110 gallons depending on the ambient conditions. For larger systems or tanks in very warm rooms, 1/2 HP or larger units are appropriate. The BAOSHISHAN 1/3 HP Aquarium Chiller is a commonly used mid-range option that handles tanks up to around 79 gallons and connects via standard 3/4-inch fittings. For larger systems, the VEVOR 1/3 HP Aquarium Chiller rated for up to 110 gallons is a step up in capacity at a still-reasonable price point.
Chillers have a few important practical considerations. They generate heat, typically 3 to 4 times the BTUs they remove from the water, which gets exhausted into the surrounding air. This means your chiller will heat the room it’s in, which can force your HVAC to work harder. For this reason, chillers work best in spaces with some air circulation or air conditioning. Placing a chiller in a sealed, unventilated cabinet is a common mistake that causes the unit to work inefficiently or overheat. The chiller cabinet space should ideally have at least a few inches of clearance on all sides, and the exhaust vent should face an open direction.
Electrical safety note: Aquarium chillers involve high-voltage electrical connections near water. Always use a drip loop on the power cord, plug into a GFCI outlet, and ensure connections are dry before powering on. Follow the manufacturer’s installation instructions exactly.
How Aquarium Cooling Fans Work
Aquarium cooling fans work by accelerating evaporation at the water surface. As water molecules evaporate, they carry heat energy with them, cooling the water left behind. This is the same principle behind sweating in humans: it is a highly efficient heat removal mechanism, but it comes with a cost, significant water loss.
Aquarium cooling fans are typically clip-on or hanging units with one to four fan heads that mount on the rim of the tank and direct airflow across the water surface. Some models are controlled by a simple on/off switch; better units include adjustable speed and temperature controllers. The AQUATEK ChillMaster 4-Fan Aquarium Cooling Fan is a well-regarded multi-head option that covers more surface area than single-fan units and is suitable for tanks in the 30 to 75 gallon range.
Cooling fans are inexpensive, require no plumbing, use minimal electricity, and are easy to install. They can typically drop tank temperature by 2 to 4 degrees Fahrenheit under normal conditions, though the actual cooling effect depends heavily on ambient humidity. In a dry climate or air-conditioned room, evaporation rates are higher and cooling is more effective. In a humid basement or coastal environment in summer, the same fan may achieve less than 1 degree of cooling.
The downsides are real and should factor into your decision. Evaporation in a saltwater tank is significant even without fans; a typical reef tank loses 0.5 to 1.5 percent of its volume per day through normal evaporation. A cooling fan can double or triple that rate. Without an auto top-off (ATO) system to replace evaporated freshwater automatically, salinity will spike between water changes, stressing corals and invertebrates. In our experience using fans on a 55-gallon reef without an ATO, we needed to manually top off nearly a gallon of RODI water per day during summer. That’s manageable but requires discipline. If you’re using fans, an ATO becomes a near-necessity rather than a convenience.
Chiller vs. Fan: Side-by-Side Comparison
| Feature | Aquarium Chiller | Cooling Fan |
|---|---|---|
| Cooling capacity | 4-12+ degrees F, consistent | 2-4 degrees F, humidity-dependent |
| Upfront cost | $200-$600+ | $20-$80 |
| Running cost | $15-$50/month (varies by size) | Under $5/month |
| Plumbing required | Yes (inline) | No |
| Evaporation increase | Minimal | High (may double or triple) |
| ATO required? | No | Strongly recommended |
| Noise | Moderate (compressor hum) | Low to moderate (fan noise) |
| Room heat generated | Significant | Minimal |
| Best for | Large tanks, SPS reefs, hot climates | Small tanks, modest temp reduction |
| Maintenance | Annual refrigerant check, coil cleaning | Occasional blade cleaning |
| Lifespan | 5-15 years | 1-3 years (fans wear out) |
| Temperature precision | High (thermostat controlled) | Low (ambient dependent) |
The table makes the trade-off clear: chillers offer reliable, precise cooling at high upfront cost, while fans offer marginal cooling cheaply and simply. The right choice depends on how much cooling you actually need.
How to Choose: A Decision Framework
The question of chiller vs. fan is best approached by asking a series of practical questions about your specific situation:
What is your tank’s ambient temperature peak? Measure your tank temperature at the hottest part of the hottest day in your area. If it peaks at 80 to 81 degrees, a fan may be sufficient, especially if you’re keeping hardy LPS or soft corals. If it regularly reaches 82 to 84 or above, a chiller is likely necessary to keep SPS and other temperature-sensitive species healthy.
What are you keeping? SPS corals (Acropora, Montipora, Stylophora) are the least forgiving of temperature spikes and benefit most from the precision of a chiller. LPS corals and soft corals have more tolerance. If your tank is primarily a fish-only or fish-with-live-rock system, fans may be completely adequate.
What is your tank size? Fans become progressively less effective as tank volume increases. For a 20 to 40 gallon system, a quality fan can make a meaningful difference. For a 100-gallon or larger reef, you’re unlikely to get enough surface cooling to matter, and a chiller is the more practical long-term solution.
What is your room’s humidity? Fans lose effectiveness dramatically in high-humidity environments. If you live in a consistently humid climate (the Gulf Coast, Pacific Northwest, or a humid basement), evaporative cooling is inherently less efficient and a chiller is a better investment.
Do you have an ATO? If you don’t have an auto top-off and don’t plan to add one, a fan’s constant evaporation creates a significant salinity management burden. Factor the cost of an ATO into your comparison if you’re seriously considering fans.
What is your real budget? A quality 1/3 HP chiller runs $250 to $400. Factor in the cost of a dedicated pump (if your existing return can’t handle the added head pressure) and you’re likely looking at $350 to $500 all in. A quality fan setup costs $30 to $80. If cost is genuinely prohibitive, start with fans, use an ATO, and upgrade to a chiller later. That is a reasonable path.
In our experience testing both approaches across similar tank setups, the chiller wins on stability. The difference between a tank that holds 77.5 degrees consistently and one that swings between 76 and 82 over the course of a day is visible in coral behavior and long-term growth rates. That said, many successful reefers run fans effectively, especially in mild climates or smaller systems.
Installation and Setup Tips
For chillers:
Position the chiller in a well-ventilated area outside your sump cabinet if possible, or at minimum ensure the exhaust vent is not blocked and there is adequate airflow. Run a dedicated pump for the chiller feed if your return pump is already at capacity, as undersizing the flow rate means the chiller works harder and cycles more frequently.
Set your chiller’s thermostat 1 to 2 degrees above your target temperature, and set your heater 1 to 2 degrees below. For a target of 78 degrees, set the heater to 76 and the chiller to 79. This prevents the two devices from fighting each other and reduces compressor cycling, which extends chiller life. During winter in a cool climate, you can disable the chiller entirely and let the heater manage temperature; the chiller does not need to run year-round in most cases.
Clean the chiller’s titanium heat exchanger coils once or twice a year with a mild citric acid solution to remove calcium buildup, which degrades heat transfer efficiency over time.
For fans:
Position fan heads to maximize airflow across the full water surface, not just one corner. Multiple fans can be directed at different angles to reduce still spots. On particularly hot days, you can temporarily increase fan speed or add an additional fan for extra cooling.
Pair fans with a quality auto top-off system. A reliable ATO eliminates the salinity spike problem entirely and makes fan-based cooling genuinely sustainable. Check your salinity weekly regardless.
Fans tend to collect salt creep on the blades over time. Inspect and clean blades monthly to maintain airflow efficiency and prevent motor wear. Running a fan with heavily fouled blades is a common cause of premature motor failure.
Common Mistakes and Troubleshooting
Installing a chiller in a sealed cabinet is one of the most frequent errors we see. The hot exhaust air has nowhere to go, the ambient temperature around the unit climbs, and the chiller’s coefficient of performance drops sharply, meaning it uses more electricity and delivers less cooling. If your sump is in a closed cabinet, run the chiller outside it or cut ventilation into the cabinet doors.
Undersizing a chiller based on tank volume alone without accounting for lighting heat load is another common problem. High-wattage metal halide or older T5 fixtures generate substantial heat that transfers directly to the water. If you’re running high-output lighting, size up at least one step from the chiller’s nominal tank rating.
Using fans without an ATO and ignoring salinity is a reliable path to a slow-motion crisis. Salinity can creep from 1.025 to 1.028 over the course of a week during a heat wave, stressing invertebrates in ways that look like disease or parameter problems. If your corals look retracted and parameters test fine, check salinity carefully. Refractometers need calibration fluid for accuracy, and many cheap refractometers read 0.002 to 0.003 high.
Setting heater and chiller to the same temperature causes them to fight continuously. The heater fires, the chiller counteracts, the heater fires again. This wastes electricity, shortens the lifespan of both devices, and creates micro-temperature swings that stress coral. Always build a 2 to 3 degree gap between heater setpoint and chiller setpoint.
Ignoring the chiller’s flow rate spec leads to reduced performance and potential damage. Most chillers specify a minimum and maximum flow rate for their heat exchanger. Too little flow and the water doesn’t exchange efficiently. Too much flow and the chiller can’t drop the temperature adequately per pass. Match the pump to the manufacturer’s recommended range.
If your chiller is running constantly without reaching setpoint, the unit is undersized for your heat load, the ventilation around the unit is inadequate, or the heat exchanger coils need cleaning. If the chiller cycles on and off every few minutes, the gap between your heater and chiller setpoints is too narrow. If a fan is running but your temperature is not dropping, the ambient humidity is likely too high for evaporative cooling to be effective; a chiller is probably the right long-term solution in that environment.
FAQ
Can I use a cooling fan and a chiller at the same time?
Yes, and in some cases it’s beneficial. A small fan can reduce the load on a chiller during peak heat periods, extending the compressor’s off cycles and reducing electricity use. The fan also helps with surface gas exchange, which improves dissolved oxygen levels. The main consideration is evaporation: running both will increase water loss noticeably, so an ATO becomes even more important. Some reefers run a fan as a first line of defense in spring and fall, only switching on the chiller when temperatures push past a threshold in summer.
What temperature should I keep my reef tank at?
The generally accepted target range for a mixed reef is 76 to 79 degrees Fahrenheit (24 to 26 Celsius), with 77 to 78 degrees being a common sweet spot. SPS-dominant tanks are sometimes kept at the lower end (75 to 77 degrees) because the livestock demands tighter parameters. The more important factor than hitting an exact number is consistency. A tank that holds 79 degrees day and night is healthier than one that swings between 76 and 82 over 24 hours. Our guide to reef tank maintenance scheduling covers how to build temperature monitoring into a weekly routine so swings don’t go unnoticed.
How much does it cost to run an aquarium chiller?
Running cost depends on the unit’s wattage, how often it cycles, and your local electricity rate. A typical 1/3 HP chiller draws around 200 to 300 watts while running. If it runs 4 to 6 hours per day during summer at $0.15 per kWh, that’s roughly $3.60 to $8.10 per month for the chiller alone. In very hot conditions where it runs more continuously, costs can climb to $20 to $40 per month. Energy-efficient models with good insulation and proper ventilation minimize this. Compare this against the potential cost of losing mature coral colonies to a summer heat event, and the ROI calculation tends to favor the chiller quickly.
Do aquarium chillers need refrigerant refills?
Most sealed-loop aquarium chillers do not require refrigerant maintenance under normal use; the refrigerant circuit is closed and doesn’t deplete like oil in an engine. If a chiller loses cooling capacity noticeably over time, the most common causes are dirty heat exchanger coils (reducing heat transfer efficiency), a failing compressor, or an actual refrigerant leak, which is less common. Regular cleaning of the titanium coils with citric acid is the main maintenance task. If the unit has lost significant cooling capacity and cleaning doesn’t help, consult the manufacturer before assuming a refrigerant problem.
Conclusion
For most serious reef keepers (especially those running SPS or a mixed reef in a home that heats up in summer), an aquarium chiller is the better long-term investment. It offers reliable, consistent temperature control regardless of humidity, requires no ongoing salinity management adjustments, and protects the livestock value of a tank that may contain hundreds of dollars worth of coral. The upfront cost is real, but so is the stability it provides.
Cooling fans are a legitimate, effective tool for smaller systems, mild climates, and reefers who need to keep costs low while starting out. They work well when paired with an auto top-off system and when your temperature peaks are moderate, in the 80 to 81 degree range rather than 84 and above. Many successful reefers have run fans for years without issues.
Whatever you choose, commit to monitoring temperature consistently. A $15 temperature controller with a probe and alerts is one of the best investments in any reef setup; it tells you when something is wrong before the damage is done.
Bookmark this guide for reference when you’re evaluating equipment or troubleshooting a temperature problem. If you’ve found a cooling setup that works well for your tank, drop a comment below. Real-world data from different tank sizes and climates is always useful.
Related reading: Reef Tank Maintenance Schedule: What to Do Weekly, Monthly, and Seasonally